How to Perform Dryer Vent Hose Installation Step by Step
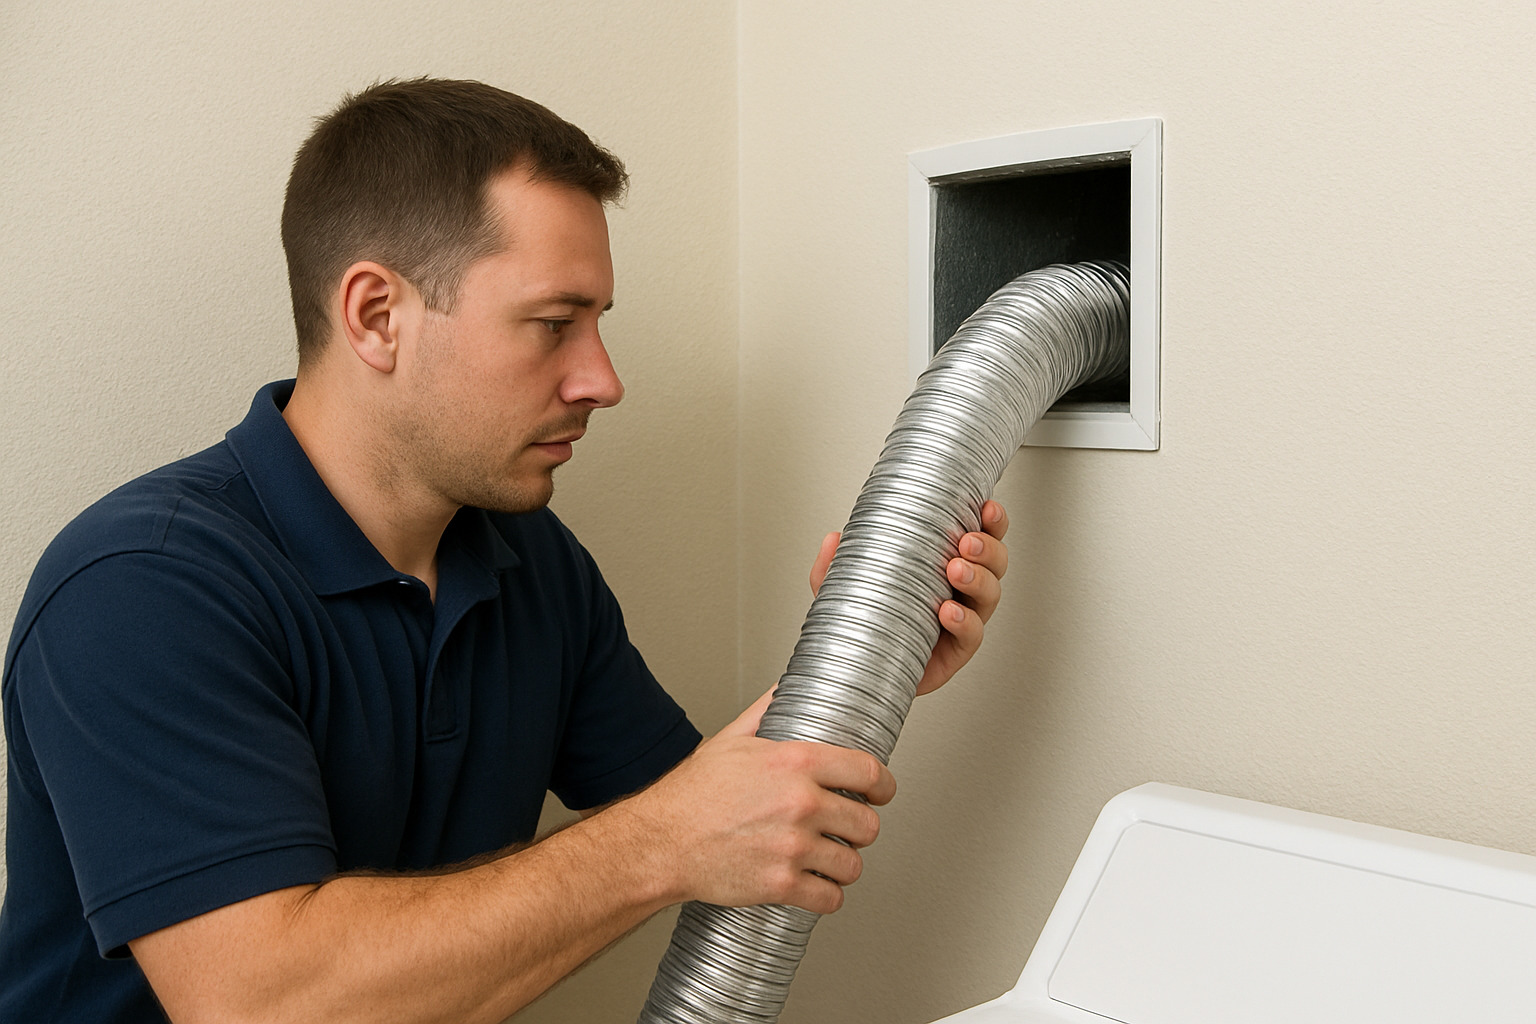
Dryers play a key role in keeping laundry routines efficient, but their performance depends heavily on a properly connected vent hose. Without the correct setup, the dryer struggles to push out hot, moist air, which can lead to mold, increased energy bills, and even fire hazards. Following the correct process ensures airflow, safety, and durability of both the dryer and duct system. This article provides a clear breakdown of how to perform dryer vent hose installation step by step (Dryer Vent Hose Installation).
Why It Matters
Why does correct dryer vent hose replacement and installation matter so much? A poorly attached or damaged hose can cause lint buildup inside ducts, reducing airflow and increasing risks of overheating. Secure vent connections not only improve drying times but also protect walls, floors, and ceilings from hidden moisture damage. Proper dryer vent setup also ensures exhaust is directed outside, maintaining indoor air quality and preventing harmful backflow of air.
What Common Problems Can Occur During Installation?
One of the most common issues is using the wrong size dryer vent pipe during installation. Most units require a 4-inch duct, yet some households try to connect smaller or larger pipes, leading to airflow restrictions. Another problem is improper dryer vent connection if clamps, connectors, or venting tape are not tightened correctly, air and lint can leak into the house. Flexible hoses can kink if the dryer is pushed too close to the wall, restricting airflow. In some cases, the vent exits through the roof, which makes the setup more complex and may require professional adjustment. Homeowners also face challenges if they need to repair or replace old ducts hidden inside walls, which can complicate installation.
What Key Benefits Does Proper Installation Provide?
Proper dryer vent pipe installation provides long-term benefits. First, it improves safety by reducing lint buildup that could cause fires. Second, it boosts energy efficiency—dryers with good venting dry clothes faster, lowering electricity or gas costs. Third, it prevents moisture accumulation inside ducts and walls, reducing mold risks. Fourth, it helps extend the dryer’s lifespan by lowering strain on the motor and heating system. Many HVAC companies offering duct services highlight that a properly installed vent improves overall household air circulation.
What Is the Cost Breakdown for Installation?
The cost of dryer vent setup varies depending on the type of hose, the length of ducting, and whether a professional is hired. Below is an estimated cost table:
| Installation Component | Average Cost (USD) |
| Flexible Dryer Vent Hose Kit | $10 – $25 |
| Rigid Dryer Vent Pipe & Connectors | $30 – $60 |
| Exterior Vent Hood with Cover | $15 – $40 |
| Clamps, Tape, and Installation Kit | $10 – $20 |
| Professional Dryer Vent Installation | $100 – $200 |
| Dryer Vent Hose Replacement (labor + parts) | $150 – $400 |
Disclaimer: Costs vary depending on house layout, venting materials, and local service providers.
What Key Features Define a Proper Installation?
A proper dryer vent installation should follow essential steps. The vent hose must be securely connected to the dryer exhaust outlet and the exterior vent hood. Rigid ducts are often considered the best option since they resist crushing and allow for smoother airflow, while flexible hoses are easier to use but must be installed carefully. Every connection should be tightened with clamps and sealed with venting tape for durability. The duct should take the shortest and most direct path to the outside of the house, minimizing turns or bends. An exterior vent hood or box cover is also important for keeping out debris and pests. For gas dryers, ensuring correct exhaust direction is critical for safety. Professional duct contractors may also inspect for damage and confirm that the installation complies with building codes.
FAQS
How do I install a dryer vent hose step by step?
Position the dryer near the wall, measure the duct length, attach the vent pipe or flexible hose to the dryer connection, secure with clamps, connect to the wall vent, and seal with tape. Ensure the vent hood outside is clear.
When should I consider dryer vent hose replacement?
Replacement is necessary when the hose is cracked, kinked, clogged, or no longer fits securely. It is recommended to replace hoses every 5–7 years.
Is rigid duct better than flexible hose?
Yes, rigid vent pipes are generally better because they maintain airflow and reduce lint buildup. Flexible hoses are convenient but should be used only in short runs without sharp bends.
What tools are needed for dryer vent setup?
Typical tools include a dryer vent kit, clamps, venting tape, connectors, and possibly a saw or drill for cutting wall openings if the ducting route changes.
Can I connect my dryer vent through the roof or floor?
Yes, but roof or floor connections are more complex. They often require professional installation to ensure proper sealing, insulation, and airflow management.
Conclusion
Dryer vent hose installation is not just a simple household task it directly affects safety, energy efficiency, and air quality. Whether learning how to install dryer vent hose for the first time or replacing an older system, homeowners must prioritize proper setup and secure vent connections. By investing in the correct vent pipe, installation kit, and professional help when needed, households can prevent costly repairs, protect indoor air, and keep laundry systems running efficiently.
“Correct dryer vent connection and installation help homeowners avoid fire hazards, improve energy efficiency, and extend the dryer’s life.”
Read More: Our Services


